-
-
-
-
-
 Back
Back
- Mooring Warps Size Guide
- Mooring Lines - LIROS Recommended Diameters
- Mooring Rope Selection Guide
- Mooring Warp Length and Configuration Guide
- How to estimate the length of a single line Mooring Strop
- Mooring Ropes - Break Load Chart
- Mooring Compensator Advisory
- Rope Cockling Information
- Fender Size Guide
- Majoni Fender Guide
- Polyform Norway Fender Inflation Guide
-
-
Main Menu
-
Main Menu
-
-
-
-
-
Back
- How To Choose A Main Anchor
- Anchoring System Assessment
- Anchor Chain and Rope Size Guide
- The Jimmy Green Guide to the Best Anchor Ropes
- What Size Anchor Do I Need?
- Anchor to Chain Connection Guide
- How to Choose Your Anchor Chain
- How to Establish the Correct Anchor Chain Calibration?
- Calibrated Anchor Chain - General Information
- Calibrated Anchor Chain Quality Control
- Calibrated Chain - Break Load and Weight Guide
- Galvanising - Managing Performance and Endurance expectation
- Can Galvanised Steel be used with Stainless Steel?
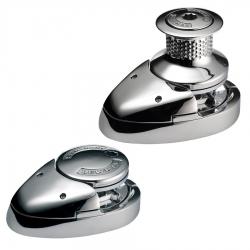
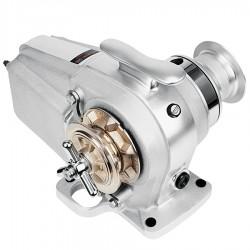
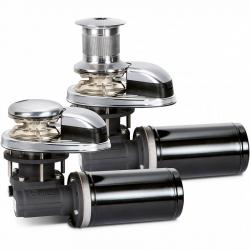
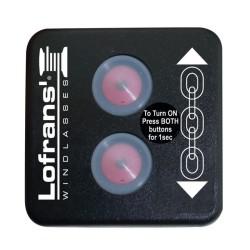
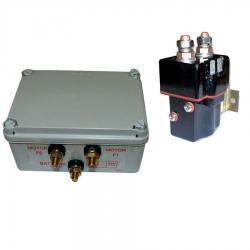
- Windlass Selection Guide
-
-
-
Main Menu
-
-
-
-
-
Back
- Replacing your Standing Rigging - a step by step guide
- Do it yourself Standing Rigging Quotes
- How to Identify and Specify Your Standing Rigging Components
- Sta-Lok Rigging Terminal Fitting Instructions
- Why choose Compacted Strand for your Standing Rigging
- Stainless Steel Wire - Quality Control and Care
- Stainless Steel Wire Break Load Comparison
- Replacing your Furling Line
- Fibre Rigging Break Load Comparison Guide
- A Guide to Inner Forestays
-
-
-
Main Menu
-
-
-
-
Back
-
-
Back
- Running Rigging Rope Fibres and Construction Explained
- How to Select a Suitable Halyard Rope
- How to select Sheets and Guys
- Dyneema Rope - Cruising and Racing Comparison
- Dinghy Rope Selection Guide
- Rope Measurement Information
- Running Rigging - LIROS Recommended Line Diameters
- Running Rigging Break Load Comparison Chart
- Colour Coding for Running Rigging
- Selecting the right type of block, plain, roller or ball bearing
- Replacing your Furling Line
- Recycling Rope
- Running Rigging Glossary
-
-
-
Main Menu
-
-
-
-
-
Back
- Blocks and Pulleys Selection Guide
- Barton High Load Eyes
- Dyneema Low Friction Rings Comparison
- Seldén Block Selection Guide
- Barton Track Selection Guide
- Barton Traveller Systems Selection Guide
- Harken Winch Selection Guide
- Karver Winch Comparison Chart
- Lewmar Winch Selection Guide - PDF
- Winch Servicing Guide
-
-
-
Main Menu
-
-
-
Back
-
-
-
-
-
Back
Flag Articles
- Flag Size Guide
- Bending and Hoisting Methods for Sailing Flags
- Courtesy Flags Identification, Labelling and Stowage
- Courtesy Flag Map
- Flag Etiquette and Information
- Glossary of Flag Terms and Parts of a Flag
- Making and Repairing Flags
- Signal Code Message Definitions
Other Chandlery Articles
-
-
-
Main Menu
-
-
-
-
-
Back
- Guard Wires - Inspection and Replacement Guidance
- Guard Wire Stud Terminal Dimensions
- Webbing Jackstays Guidance
- Webbing Jackstays - Custom Build Instructions
- Danbuoy Selection Guide
- Danbuoy Instructions - 3 piece Telescopic - Offshore
- Liferaft Selection Guide
- Liferaft Servicing
- Man Overboard Equipment - World Sailing Compliance
- Marine Safety Information Links
- Safety Marine Equipment List for UK Pleasure Vessels
-
-
-
Main Menu
-
-
Main Menu
-
-
-
C - F
 Back
Back
-
-
-
-
-
-