

More Information
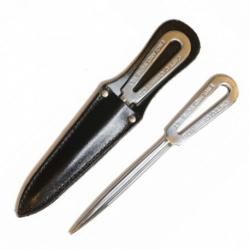
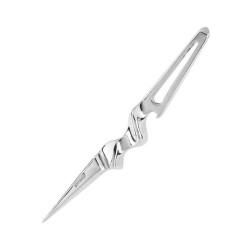
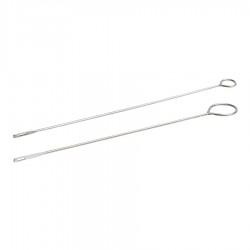
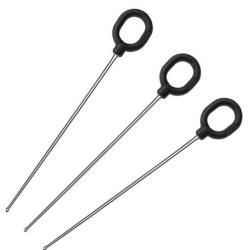
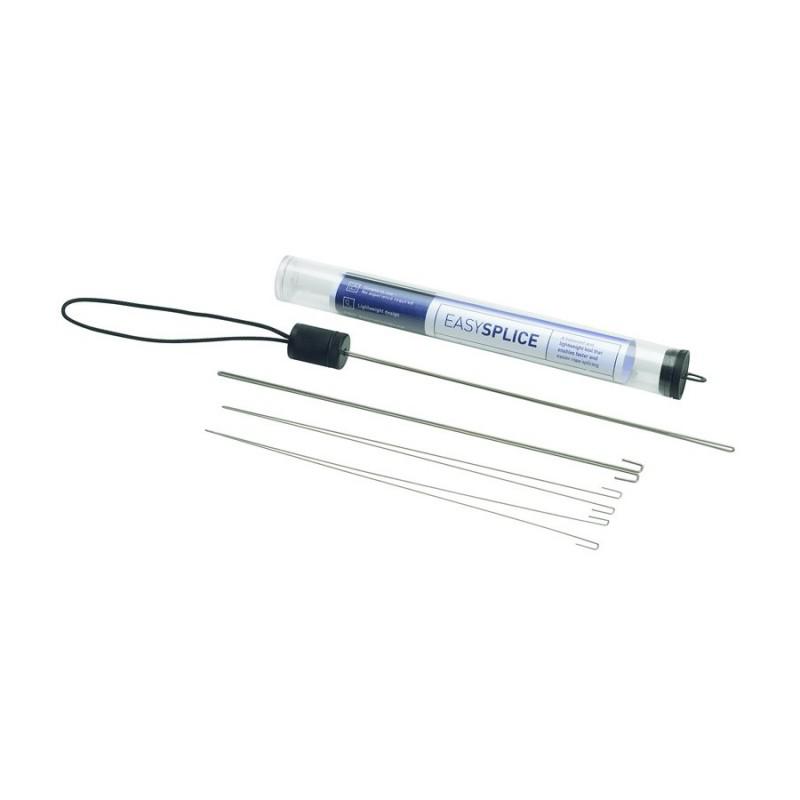
Barton have designed their Easy Splicer to make it perfectly balanced in the hand.
Featurs and Plus Factors:
- Ergonomic Design
- Easy to use
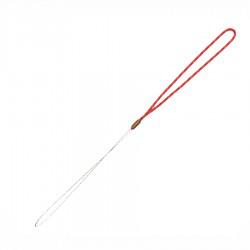
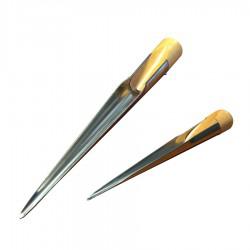
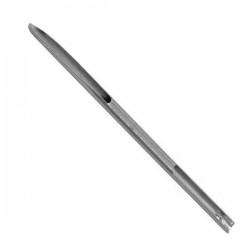
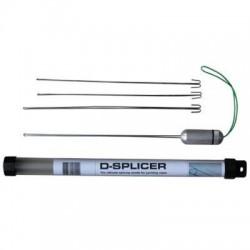
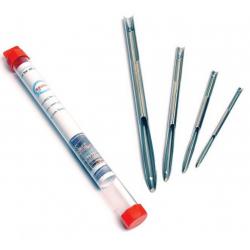
- 4 interchangeable wire sizes for different diameter lines
Instructions below and tutorial video on the Barton website.
- To create a spliced loop, mark the rope on either side of the loop size desired, leaving at least 15 cm of rope for the tail (the short end.)
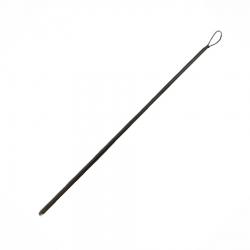
- On the long end of rope, push the EasySplice needle through the middle core of the rope, and attach the short end into the end of the EasySplice needle and pull through until you have your required loop size.
- Push the EasySplice through the short end of the rope just under the first marked position, and in the same way, attach the long end of the rope into the needle and pull it through the core.
- This has now created a lock.
- Putting the short end of the rope beside the long end of the rope, will give you the point furthest away from your splice to insert the EasySplice.
- Push the EasySplice up inside the core until you reach the splice and then exit the core at that point.
- Attach the short end into the EasySplice needle and pull the tail inside the core until it comes out the other end. Now you can taper the end to give you a better finish.
- Pull the outer rope over the inner rope and the job is finished.


